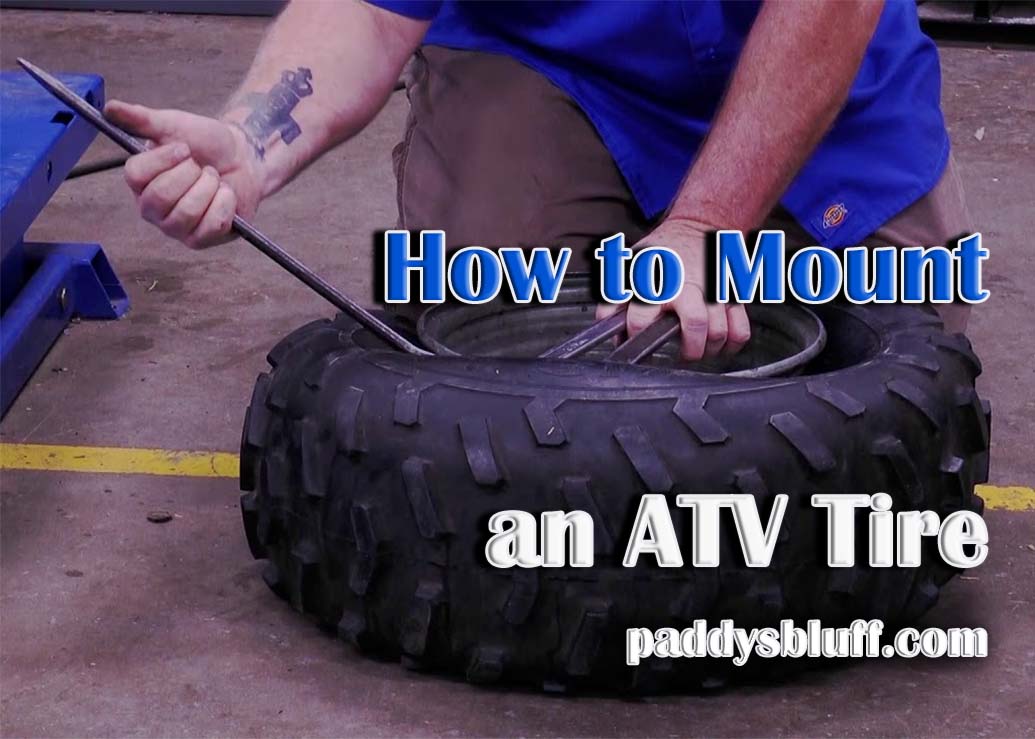
How to Mount an ATV Tire
No matter how good you are at maintenance, tires wear out over time, especially if you do a lot of off-roading. Now, brand-new wheels are pretty expensive, which is why it would be wiser to change the tires instead. But can a regular ATV driver even pull this one off on their own? The answer is yes, they can. The tire mounting process isn’t a simple one, though.
You’ll need to be handy with some “garage tools” and be ready to invest time and effort into this. And that’s exactly why I wrote this guide: to help you get everything right the first time around and to enjoy your new tires. First, we’ll remove the wheels and separate the old tires from the rims. Next, we’ll install the new tires. Alright, let’s start!
What you’ll need for the Job
- Gloves + eye protection (goggles)
- A tire deflator (optional)
- An air compressor
- A wrench and a screwdriver
- Valve removers
- Tire changers
- Tire spoons (or a set of pry bars)
#1: Starting with the Wheel
Before we get our hands dirty, I want to remind you about the importance of being protected. Tires are made of rubber – it can be pretty tough on one’s hands. So, make sure to wear a decent pair of protective gloves and eye goggles. And now for the main event: to be able to work with the tire, you’ll need to remove the wheel completely. Jack the ATV up and loosen the lugs.
I recommend following the so-called criss-cross pattern. Once the wheel is off and safely in your hands, put it on an even surface and get to deflating. For that, you can use a tire deflator, but, since we’re not after a precise PSI here, simply remove the caps and let the air out that way. Give the tires a minute or two to deflate. Once that’s done, you’ll need to remove the valve cores.
These tiny things have only one purpose: to prevent air from escaping. This can be done with a wrench or even a set of pliers. However, unless you know what you’re doing, a wrench can severely damage the cores. Valve removers are a far better tool for the job. They are available for cheap (10-15 US dollars); therefore, it would be best to buy one.
#2: Breaking the Beads
 Ok, now that the tire is completely air-free, we need to break the bead seal. This is the hardest part, by the way, because off-road tire beads are a lot harder to break than regular ones. In case you didn’t know, a bead is the edge of the tire that “grabs onto” the wheel. And if you’ve got a decent ATV with premium tires, I bet there’s a bead sealer providing extra protection.
If you don’t want to waste most of the day trying to “pry open” the tire, I suggest using a tire changer tool. These are reasonably-priced ($50-60) and do an excellent job of breaking the beads. A quick note: put the tire on something sturdy, like a concrete floor or a piece of plywood so that it doesn’t dig into the ground when you’re applying pressure to it. The tire changer works like a jack in some way and pops off the bead off the rim.
Folks on a tight budget can try to use an actual jack or even a piece of metal to deal with the bead.
#3: Getting rid of the Old Tire
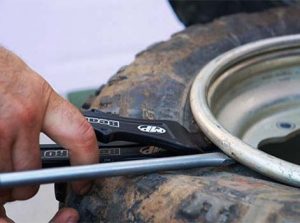
With the bead off the rim, it’s time for us to remove the entire tire off the rim and leave it completely “naked”. What you want to do here is slowly, but steadily peel the tire off. Grab the tire spoons I mentioned earlier and get to work. Pry bars can also get this done. Some pro mechanics do it with a screwdriver, but I recommend against that. The reason – it can damage not only the tire but also the rim.
True, you shouldn’t even worry about the old tires, but you’ll still need the rim. Tire spoons usually come in a set of three. That makes it a lot easier to remove the tire, as you can use them to “weaken” it from all three sides. When you feel like the tire is almost off, start using your hands.
#4: Preparing the Rim and the Tire
To ensure a good, snug fit of the new tire, the rim’s lip needs to be prepared. The experts recommend using a bead sealer. Essentially, it’s a rubber product that, well, seals the new tire to the rim. However, if you’ve been driving the ATV only for a couple of years, the rim might not even need any sealing. On the other hand, if it’s rusty and/or pitted, then it will definitely benefit from a high-grade sealing formula.
Do keep in mind that it will be much harder to remove this new tire the next time a replacement is in order. Don’t overdo it! And before you apply the sealer, make sure the new tire’s bead is crystal-clear. Any dirt, grease, debris, or anything like that will prevent you from achieving a tight fit. Also, consider using some lube. It will make the mounting process easier.
There are lots of lubrication products available on the market; yet, a simple combination of water and soap will do just fine. Cover both the outer and inner sides of the bead. If you skip this part, getting a brand-new tire on an old rim will turn into one big headache.
#5: Mounting the New Tire
 It’s very important to figure out the right way to “thread” the tire onto the rim. In my experience, starting with the shallow side of the rim is the correct move here. First, put the rim on firm ground so that it doesn’t slide away. The shallow side has to be facing upward. What you should do next is focus on the bead. Try to poke it into the rim (the shallow side, of course). Go slowly, applying mild pressure on the tire until it gets to where you want it to be.
This is actually easier done than said. The whole process is very intuitive and you’ll instantly know what to do to get everything right. We’re not done yet, though. The bead needs to be lined up, and the tire seated. Grab the tire spoons or pry bars to string the tire onto the rim. If it’s too hard to control the whole tire, put something heavy on one of its sides (or press down with your knee) while working on the other one.
#6: Pumping the Tire Up
Alright, we’re almost there! The last thing to do would be to inflate the tire. Use an air compressor for this. It will, most likely, be equipped with a pressure gauge that will help you pump just the right amount of air into the tire. Don’t forget to put the valve stems and cores where they belong. In some rare cases, a regular compressor might not be enough to inflate an ATV’s tire. In that case, a special portable bead seater will be required.
But this mostly concerns really big tires, like on a super-duty truck or something like that. Wanna hear something cool? To even the bead out and put it perfectly around the rim, you can spray a little bit of starter fluid (doesn’t matter what brand or formula) into the tire and put it on fire. That’s right: use a lighter to burn all the remaining air inside of the new tire. Do this at your own risk, though!