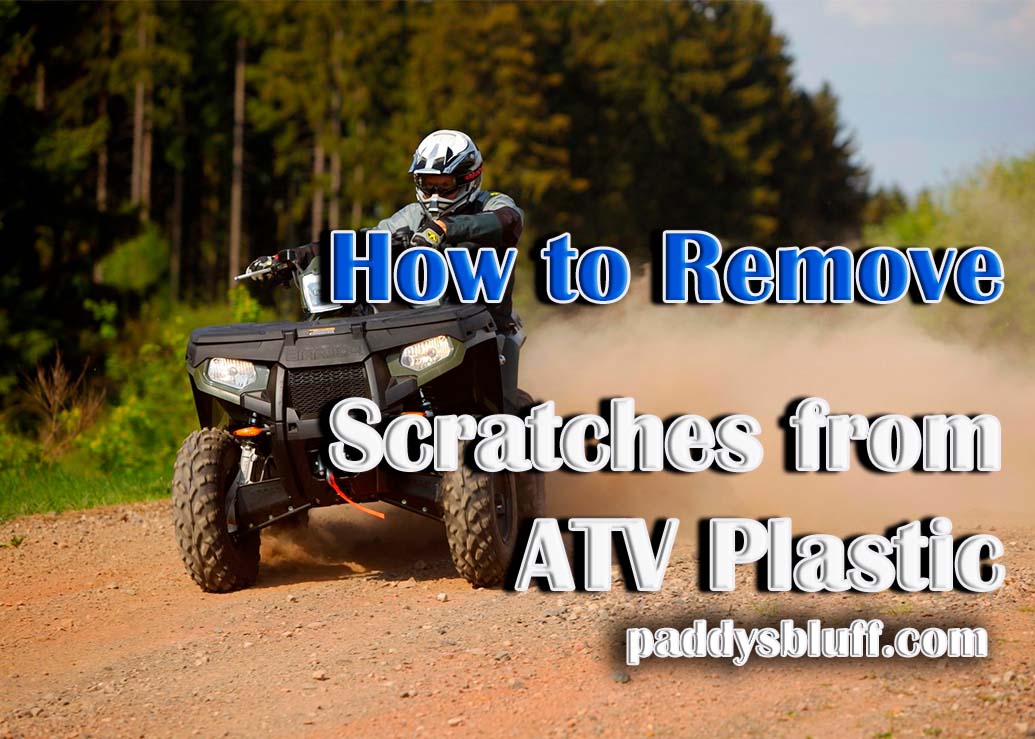
How to Remove Scratches from ATV Plastic
Off-roading is always lots of fun, especially if you know the trail well and feel in control over your four-wheeler. However, for the ATV, it can be quite stressful. All the dirt, mud, and dust particles slowly, but steadily ruin the metal. And what about the plastic, you might ask? Well, cleaning it shouldn’t be a problem: if you’ve got a deterrent and some degreaser formula, you’ll be able to keep it clean easily.
The real problem is the scratches. No matter how careful you are, off-roading adventures will be hazardous for your four-wheeler. Even if you don’t hit tree branches, bushes, and grass, debris (tiny rocks and pieces of wood) will do the trick. So, today, we’ll learn how to remove deep scratches from ATV plastic. Yes, it’s very well possible to do that – watch closely!
Fixing Scratches: Getting Started
Before we get to the meat and potatoes, let me just say that there are two types of scratches. Light ones, and deep ones. Light scratches are the ones that may not even be visible to the naked eye. The list includes tiny marks left by tree branches, bushes, and rocks, as I just mentioned in the intro. So, if you don’t want your all-terrain vehicle to always look perfect, maybe these “tiny imperfections” shouldn’t really bother you?
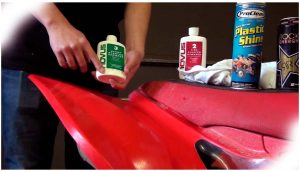 Well, note quite: over time, small scratches can turn into something bigger and harder to deal with. The best way to avoid that is to use decent-quality sandpaper. Don’t worry: it won’t cost you much (5-10 US dollars for a pack) but will do a pretty great job of eliminating tiny scratches. And if you finish it up with a plastic restorer, the results will be truly amazing. A restorer is mostly used for eliminating plastic fading; yet, it’s also very effective at dealing with scrapes.
The average price of a high-grade bottle/can is 15-20 dollars, and the solution will last for at least a couple of years. If you use wet sandpaper instead of a dry one, it will probably work for medium scratches as well. It all depends on your ATV, the quality of the plastic, and more.
A quick note: don’t start sanding without washing the plastic parts with fresh water. Got a hose lying around somewhere? Good, use it. To be thorough, also apply a detergent to further remove the grease and grime. Regular soap can come a long way as well, especially if the water and detergent fail at eliminating the stubborn stains on the ATV. That way, it will be much easier to spot the scratches and to “handle” them more effectively.
Moving up to the Bigger Fish
Alright, with the light and medium scratches out of the way, it’s time to talk about the really deep stuff. For the sandpaper to be effective, I recommend starting with 400 grit. If you’re lucky, that will get the job done. If not, move higher up the “ladder”, all the way to 1500 grit. That will allow you to smooth out the surface and make the scratch disappear. Keep in mind, however, that the higher the grit, the higher the risk of ruining the plastic.
That means you’ll most likely affect the sturdiness, durability, and integrity of the ATV plastic parts – in a negative way. The reason: the more of it you remove using sandpaper, the more brittle the fenders, bumpers, and skids will get, becoming more fragile and easy to crack. If that’s the case, I recommend using plastic filler instead. As the name suggests, you just use it to fill in the scratches.
Give the formula 20-25 minutes to set, and then use sandpaper to smooth out the edges. Plastic filler is available for cheap as well (5 to 10 dollars max). Be careful not to use too much of it, as that will leave a mark on the surface of the plastic. In my opinion, the combination of these three elements – sandpaper, a plastic restorer, and plastic filler – is perfect for removing deep scratches and making the ATV look brand-new.
Fading – What’s it all about?
Along with scratches, fading is another big (and rather common) problem for ATVs. Now, plastic is manufactured from oil (the refined kind), and, as time passes, it evaporates. Once that happens, the upper layer of the plastic starts to look faded and discolored. On top of that, it loses its sturdiness, becoming weaker, more sensitive, and prone to cracks.
You could use the same trick with sandpaper: keep scratching off the top layer until you sand down to the core where the plastic is still in one piece and doesn’t look faded. This is the cheapest and quickest way to solve the issue. But, again, by “peeling off” the plastic, you’re making it less consistent, and, as a result, weaker. Using a heat gun is the more preferable solution. Let’s talk about that in the next section.
Restoring ATV Plastic with a Heat Gun
 I know that a “heat gun” sounds like a cool laser rifle from the 80s, but it’s actually a really powerful instrument. And, it has proven to be extremely useful for restoring plastic. Heat guns are very easy to use – they won’t take you much effort or time to master. Still, some preparation will be involved, so, make sure to follow my guide on how to restore ATV plastic with heat gun carefully.
By heating the plastic, the gun brings the oil up, making it look almost as good as it used to. You can literally see the plastic change its color while you’re holding the heat gun over it. Be very careful at this stage, though, because too much heat will melt everything and you’ll end up with a ruined plastic part. I recommend holding the gun at least a couple of inches away from the plastic.
Next, make sure you’re constantly moving it from one side to the other so that it doesn’t have enough “one on one” time with the surface to damage it. Some folks even use propane torches for this! The main concept is the same, by the way; it’s just that heat guns are more suited for the task. Mostly, heat guns are used to eliminate the effects of fade, but they can also be instrumental in fixing scratches.
I have to say, however, that while the gun is more effective and less destructive, it still makes the plastic parts weaker – there’s no denying that. Now, before you start heating things up, don’t forget to put protective gloves and sunglasses on. And once you’re done, store the ATV in a shady place (like maybe your garage). Leaving it exposed to the sun is a very bad idea. Let it sit for 24 hours, and enjoy your restored plastic!
Conclusion
And that’s everything I wanted to share with you today! Plastic isn’t the most durable or the strongest material on the planet. So, if you do a lot of off-roading behind the wheel of an ATV, best believe the plastic parts will get scratches all over. The good news is – they aren’t very hard to fix. All you’ll need is sandpaper and some solutions to treat the plastic. As for fading, a heat gun can make wonders happen.
Now, while all of that won’t fully restore the plastic’s original properties, it will still be money well spent. By fixing the scratches and eliminating fading, you will make the four-wheeler look a lot better. Plus, it will last longer and you won’t have to spend big bucks on brand-new bumpers and fenders.